I found myself wide awake at 5am this morning and so I got up, made a coffee and went into the shack. The room was halfway through being reorganised and so I continued the job for a couple of hours and now it looks all lovely and tidy once again!
Then I went onto Morse Mania and did some CW practise for a while. To be honest, I've been skipping my practise sessions for a few weeks, due to lots of stress at work which makes me feel tired when I get home and not really in the mood for the demands of learning morse.
When I'd done as much practise as I wanted to, I thought I'd connect my key and transmit CQ TEST DE M7MCQ a couple of times on the IC-705 into an EFHW at 5W on 40m. I was surprised to see that my signal travelled across the Atlantic over 4,000 miles.
THAT'S why I will continue to go down this path no matter how long it takes. I'm trying not to beat myself up when I can't be bothered to practise some days - life just gets in the way and I've got to accept that.
I seriously can't wait for retirement! But that's a couple of years away.
When it comes to Antenna Tuning Units, I have the wonderful little Elecraft T1 and the LDG Z-100PLUS. They are both 'automatic' tuners - there is no manual tuning facility - you simply transmit some RF and the units will automatically search for the best match between your antenna and transmitter.
But what if you are using a receiver and can't transmit? Well you're stuck with your mismatch and as a result, your signal may be considerably weaker than it might otherwise be. This is when you would benefit from a manual ATU with knobs and dials. Of course you could use a simple Coupler but then you are limiting yourself to an RX-Only device.
The answer is to find a manual ATU and there are plenty of them available, but I was eager to find a smallone! My first choice would have been an EMTECH ZM-2 but they are ridiculously expensive here in the UK due to the exorbitant shipping costs and the Customs & Excise Duties.
The answer was found right here in England at Kanga Products. They sell a 'Pocket Transmatch' which is small, easy to use and is able to work with both a Transceiver and a Receiver. It is available as a pre-built unit or as a self-build kit (with around 50 components). I chose the latter for £45. It's only a tenner more to have it pre-assembled, which is a bargain, but where's the fun in that? 😂
The kit provides you with everything you need including a rather nice case with printed panels. It measures just 85mm x 55mm and weighs just over 100g. It comes with BNC connectors, covers 80-10M and can handle up to 10W - perfect!!
As its name suggests, this is more than a regular ATU - it's a Transmatch which benefits from introducing some bandpass filtering and is much better than traditional L-Match circuits. The design is made up of two circuits, the first one being a Resistive SWR Bridge and the second part of the circuit is the actual ATU. This device has a switch to permit the use of Balanced and Unbalanced feeds.
This kit comes with fabulous build-instructions but Kanga warn that this is the most difficult kit in their range and I'm guessing they say that because of the toroid which needs winding. A couple of years ago I would have been a little anxious about tackling this, but really, it's a very, very easy process (if a little fiddly).
Winding toroids (especially ones with multiple windings and loops) can be quite daunting to newcomers, but believe me, there's nothing magical or mystical about the process - it's just a case of paying attention to the number of turns and making sure that you're being neat. Taking a photo using your mobile phone and then zooming in to count the turns (and examine for any overlapping) can make the process much easier.
After I built a QRPLABS QDX, I never worried again about winding toroids, so rather than repeat myself here, I suggest that you read through the relevant section of that build for some guidance.
The toroid supplied in this kit is a T68-2 Core and it's not a bad size - meaning that the windings aren't so tight that it'll make your life hell. You basically wind 13 turns, create a short loop, do another 6 turns, create a second loop and then finish off with another 13 turns. That leaves plenty of room on the core.
Next up is to use a separate piece of wire to wind on 7 turns between the existing winding starting 3 turns in. This second piece of wire is coloured differently to make it easy to see what you're doing. The photo below might explain what I mean. Again, this will probably look quite daunting to a newcomer, but honestly, it's quite easy to do and you can always check it again by zooming into a photo of it on your mobile phone.
Once you have the toroid in place, the rest is pretty darn simple - just a case of soldering a few through-hole components. As per the instructions, do not solder the red LED yet. It's important to note that when you fit the two toggle-switches to the PCB, you should not press them all the way down to the PCB - just push the terminals through enough so that you can solder them. If you push them too far down into the PCB, you might not have enough thread sticking through the enclosure's faceplate to fit the retaining nut (although that's only really decorative). Also make doubly sure that the switch is perfectly straight before soldering.
You do have to exercise a little caution when preparing the two variable capacitors because it involves cutting off some of the legs, but if you pause to double-check the instructions, it's a simple process.
Once you've fitted the caps to the front panel and secured with screws, attach some of the insulation tape provided to the back of the caps. This is to prevent anything on the PCB touching the caps. Once that's done, you simply lower the PCB onto the legs of the capacitors. Note that as you are lowering the PCB down, you need to guide the LED into its panel aperture. When you're happy with everything, solder the caps and LED.
The final part is to fit the BNC connectors using the shortest amount of wire that you can manage to work with. Insert the supplied spacer and secure the front panel with the 4 screws. Job done!!
I tested the Pocket Transmatch using an EFHW antenna with my tiny 5W (tr)uSDX transceiver and everything worked perfectly. I might open it back up and adjust the blue sensitivity-trimmer so that the LED goes out completely when the perfect match is found, instead of going very dim.
Size-wise, the ATU is a perfect match for the (tr)uSDX (in fact it's smaller than the radio) and it can easily handle the power (which can sometimes creep up to 7 or 8W depending on the band and the input voltage).
As for operating the ATU, it couldn't be simpler. You flick the toggle from OPER to TUNE, transmit a constant carrier and then turn the dials until the LED goes out (or goes really dim). I tried it numerous times and the dimmest level of the LED matched the best SWR reading on the radio. Perfect! When you've found your match, flick the toggle switch back to OPER and away you go.
Next up was to try it with a receiver, so I connected it to my AOR AR-DV1and (to give it a hard time) my G5RV antenna. I started with both tuning dials to the far left (anti-clockwise) position - I believe that position is close to a 'straight-thru' or 'bypass'. I then tuned into a signal and adjusted the left dial until I heard the most noise and then turned the right dial for the same. Repeating this exercise a couple of times got me the best possible signal and a massive improvement on what I would have otherwise heard.
So this little device is a very worthwhile addition to the shack and I'm really pleased with it. It's tough, compact and can handle all the power I need out in the field. At 80-10M it also has good band coverage. With the enjoyment of kit-building, it's also worth every penny of the £45.
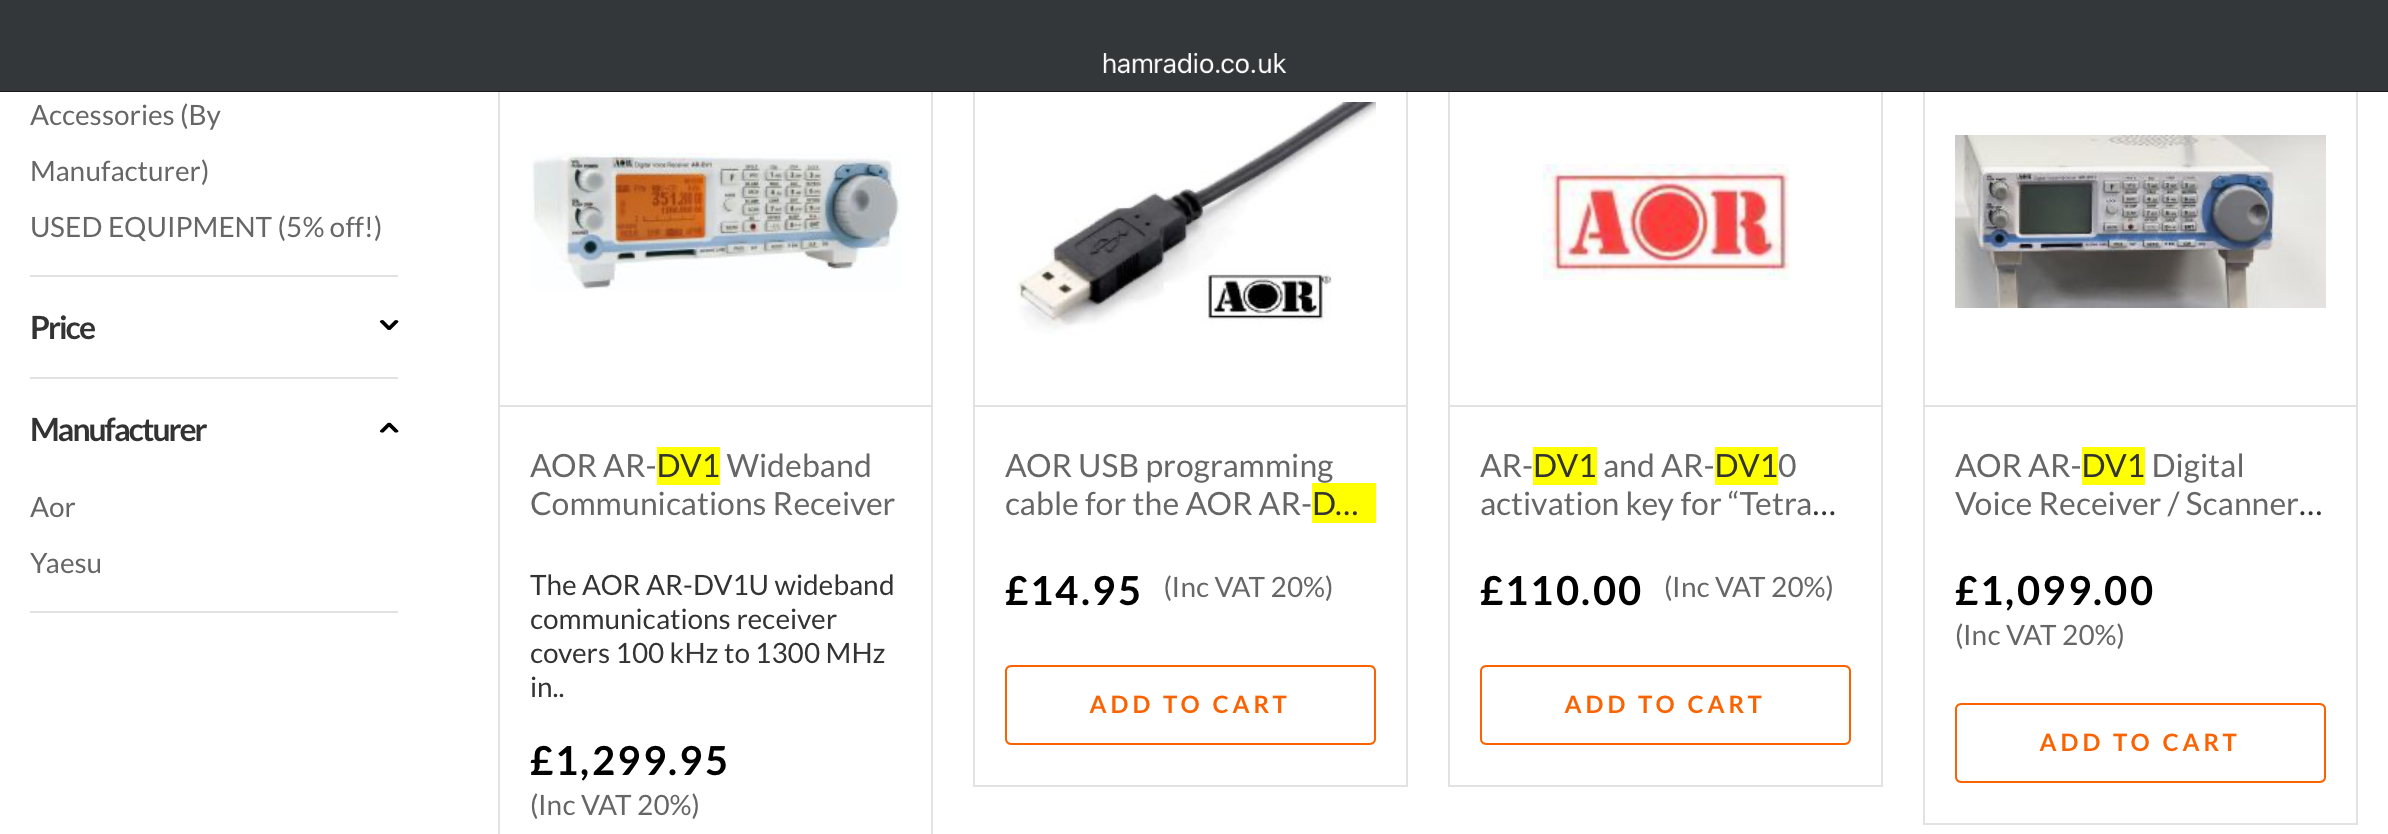
As an SWL’er, the DV1 has appealed to me since the day it was launched in 2015, but I could never bring myself to pay the ridiculously high asking price for a new one, so it has been stuck on my wish-list for many years.
😮 £1300 new??? £1100 used??? 😮
Now bear in mind that although this is a true Direct Sampling SDR (up to 18MHz and then it's a hybrid triple conversion superhet), it isn’t a high-end receiver like you’d find in the Icom, Kenwood or Yaesu catalogue - it’s a jack of all trades and is pretty good overall, but isn’t the king of any particular castle. So why did I want one so badly? Because it's unique - probably the only (sub-£4k) receiver in the world which covers 100kHz to 1.3GHz and can decode virtually anything including DMR, DSTAR and C4FM (as well as TETRA, P25, NXDN, ALINCO, etc, etc). Yes, I know there’s the £900 AR-DV10, but that’s just a piece of useless crap (apologies to owners).
I’ve seen a few secondhand DV1’s for sale over the years, but when asked for a serial number, the sellers have gotten tetchy with me, indicating that it's probably one of the units with a dodgy USB, so I’ve steered clear. You see, despite AOR’s denials, there was a real problem with a batch of DV1’s which caused the USB connection to fail. In fact, some even failed out of the box, new! So you have to be careful that you’re not buying an old unit with an early pcb which is affected by this problem.
Anyway, as usual, I saved searches on eBay, HamRadioDeals and Facebook until one popped up which ticked all my boxes. In this case, it was a virtually new radio, in the original box, with the new Revision.2 motherboard and the very latest firmware (2205A). It was MINT++++ condition and on sale at just £800. That’s a massive saving on new prices 😮
I collected the radio from the seller in Manchester and returned home to have a play. The unit is powered by the supplied mains adapter which is huge and fugly!
First of all I used the supplied telescopic antenna and it matched my expectations - poor! Connecting it to an EndFed HalfWave produced great results on the HF Amateur Bands, with perfectly usable sensitivity. I was really happy with the DV1's performance considering that it's a very wideband receiver.
There's no switchable pre-amp or attenuator which is surprising, but there is great Auto Notch and Noise Reduction - very effective! There's also no Line Out, so I use the headphone socket, exercising caution with the volume level.
Switching to VHF and UHF it produced similar results. I was lucky enough to find a few QSO's on 2M SSB (thanks to it being Xmas Hols) using a small portable yagi - the signals were easily readable despite the distances between me and some of the operators. On FM (with a colinear) it was as you'd expect - very good. AirBand too, was excellent!
Switching to Digital, I started by tuning into my OpenSpot4 just to see how the radio decoded C4FM. It was really good, with nice audio. The only criticism would be that if you opt to use AUTO mode (where the radio detects the mode and switches to it), there was an initial 'cccerkk' for a split-second while it made its mind up. If you choose the mode manually, it's perfect!
I then programmed in a local NWFG Fusion repeater and tried again. Perfect! Unfortunately, I couldn't reach any DSTAR repeaters, so I had to start the DV1's Record Function, set my Kenwood TH-D74 to low power, move outside and and ran a test that way - the DV1 decoded the incoming signal perfectly and again, the audio was great. I wasn't able to carry out a DMR test from the caravan.
Switching to Wide FM I tried tuning into a few broadcast stations using just the telescopic whip and for comparison, I stood it alongside my Tecsun S2000.
The Tecsun beat it hands down, but then I realised that the limitation was actually the antenna, which was much shorter than the S2000's. When I shortened the Tecsun's antenna to the same length as the DV1 (600mm), they were equally poor! I obviously need to invest in a longer/better telescopic. I ordered a 115cm telescopic from Amazon and I'm pleased to report that it made a huge difference!
On MW and LW, the radio's sensitivity was slightly less impressive, but in all fairness I didn't have my antenna coupler with me, so I couldn't give the DV1 a good platform to work from. One thing that did jump out was the effectiveness of the AGC which was excellent!
Because I was at our holiday home in Scorton, I was limited to how much testing I could do due to antenna limitations so I will add to this post in much more detail after the Xmas Hols. I also intend to use the radio out portable with a battery pack - I suspect that a good take-off point with no electrical noise will produce really pleasing results - we'll see.
So what about the ergonomics? Well this ain't no Icom, but it gets a big thumbs-up straight away for having a nice VFO dial. It also has a couple of buttons above the dial which can be used for fast tuning (along with other uses).The screen too is nice and easy to read despite its small size. The two rotaries on the left of the unit control the volume and the squelch. The volume also acts as the On/Off button. There doesn't appear to be a MUTE button which is quite an omission as far as I'm concerned. Another annoyance is the difference in volume levels between analogue and digital modes - you need to remember to turn the volume down when moving to analogue signals. Of course turning the volume down is not a realistic option when you are scanning memories which include both types of signals - you have to keep the volume at a level to suit digital. This problem is not unique to the DV1 - it's a problem with many of the ham radios that I've used (and the same applies to the mic-gain differences on many modern transceivers).
Overall, the DV1 has a very nice, high quality feel to it and you get the impression that it has been built to a high standard. The finish is superb and there's nothing about it that has you worrying about its longevity. The bank of 22 buttons feel very sharp and the printing is fantastic - unlikely to wear off easily.
The buttons are backlit and the light can be set to stay on permanently or to extinguish after a set time. The colour of the backlighting can be adjusted too, although one of the blue shades fits in better with the colour scheme of the front panel.
Most of the buttons have a second function which is easily accessed by pressing the F-key. It only takes a few minutes to get familiar with it all, Having said that, I strongly advise sitting down with a cup of tea and reading the manual.
Because this is a compact, very wideband digital receiver, it obviously lacks things which you may be used to seeing on ham radios like Band Buttons. It just doesn't work like that - you simply switch it on and then type in a frequency such as 7.090 followed by ENT. You then have to press the mode button and choose the appropriate mode (LSB in this case) - unlike a ham radio, changing to a frequency does not automatically switch modes, so you need to do it yourself. You may also need to adjust the bandwidth by pressing F-MODE.
Seem a bit fussy? Only if you are coming from a ham radio background - otherwise you wouldn't expect anything else. The best thing to do is to program some frequencies (along with the mode and bandwidth, etc) into a memory and save it for quick access. There are 2000 memory slots available available as 50 Channels in 40 Banks.
It makes sense to group similar frequencies together such as AirBand, Marine Band, Military, etc, etc, and the DV1 obviously accommodates that but it also goes further by allowing you to scan individual banks and to link certain banks together so that you can opt to scan everything or just certain banks such as Civil and Military airband frequencies.
The red button initiates the radio's built-in recorder and all recordings are saved to the SDCARD. Bear in mind that if you are recording and then try to power-down, the radio will not switch off until it has finished disabling the record function and saved the file safely.
The MONI button is a non-latching monitor function (like turning down the squelch momentarily). The CLR button is best described as an ESCape button. LOCK disables everything except the volume and squelch dials.
The DV1 has a built-in speaker on top of the case and it sounds pretty good, but like most other radios, it benefits from a good quality external speaker. The headphone output is also good and produced satisfactory volume even when I plugged my Sennheiser HD600’s in, which are not easy to drive.
Initially I tried an Icom SP-38 speaker and it made a huge improvement to the enjoyment of the DV1 but it's relatively big speaker and looks dreadful alongside the lovely DV1. So next up was my much loved BOSE SoundLink Mini II which not only sounded fabulous, but also matched the DV1 perfectly!! Because the Bose is an amplified speaker, you need to plug it into the headphone socket and not the speaker socket. It's a pity there's no BlueTooth option to enable wireless speaker connection.
There are a few software packages available which permit you to connect the DV1 to a PC but I think they're quite limited and not something I'd choose to use personally - except maybe to aid storing and organising memories.
So that's it for now. The DV1 is an amazing receiver, covering a very wide range and able to decode pretty much all the major digital modes. And it does it well.
I'll update after further testing. If you have any comments, please leave them below (including a name if possible).
I spotted this code of conduct on Keith Maton's BLOG (G6NHU) and he encourages people to share it, so I thought I'd post it here, since I fully agree with his comments on the extremely poor operating techniques of many amateurs around the world. The post is called "DX CODE OF CONDUCT" but much of it applies to non-DX operations too.
Yes, I know I'm a relative beginner and I'm not trying to lecture old hands on how to operate - I'm just sharing what I consider to be a great post - especially for newcomers. We're all guilty of breaking the rules, just as we do when driving cars on the road. It pays to refresh yourself on the 'highway code' now and then, lol.
Here we go...
It is no secret that the on-the-air behaviour of radio amateurs, especially in pileups, has become worse in the last few years. Unpleasant, uncivil and impolite behaviour of our fellow amateurs reduces the enjoyment of our hobby.
It does not have to be that way nor should it be. Impolite behaviour is counter-productive and simply inconsistent with the aim of our hobby, to have fun.
Just as we work to improve our technical skills, we should all aspire to hold ourselves to the highest ethical operating standards. This Code is a reminder of the high ideals of which we are all capable.
I will listen, and listen, and then listen again before calling.
I will only call if I can copy the DX station properly.
I will not trust the DX cluster and will be sure of the DX station’s callsign before calling.
I will not interfere with the DX station nor anyone calling and will never tune up on the DX frequency or in the QSX slot.
I will wait for the DX station to end a contact before I call.
I will always send my full callsign.
I will call and then listen for a reasonable interval. I will not call continuously.
I will not transmit when the DX operator calls another callsign, not mine.
I will not transmit when the DX operator queries a callsign not like mine.
I will not transmit when the DX station requests geographic areas other than mine.
When the DX operator calls me, I will not repeat my callsign unless I think he has copied it incorrectly.
I will be thankful if and when I do make a contact.
I will respect my fellow hams and conduct myself so as to earn their respect.
The lines in bold are the ‘offenses’ I hear more than anything else.
I support the DX Code of Conduct.
#1 – I will listen, and listen and then listen again before calling.
This seems so obvious but it is the most vital thing to do. Careful listening rather than rushing to transmit will get the DX into your log. You must listen to find out whether the DX is working split and if so, where is he listening? Then you need to listen to the calling stations in order to determine what the DX station is doing. For example, he may be working gradually up or down the pile-up frequency range – and you need to find the best spot to call. And it may be time to ask yourself: “Do I really need to work this bit of DX, right now? Can I wait a while for the pile-up to subside?”
#2 – I will only call if I can copy the DX station properly.
You also need to listen carefully to determine how well you can hear the DX station to be sure you will hear his reply to your call and to avoid causing interference by transmitting at the wrong time. It is extremely frustrating for a DX station to return a call to a station that is unable to hear him, thereby causing incessant QRM.
#3 – I will not trust the Cluster and will be sure of the DX station’s callsign before calling.
Cluster spots often show the wrong call sign. Before you log a station, you should hear the station’s callsign on the air – don’t trust spotting networks. The DX operator should send his call sign at regular intervals. Unfortunately, not all operators do this!
#4 – I will not interfere with the DX station or anyone calling and will never tune up on the DX frequency or in the QSX slot.
Sadly, this covers a multitude of operators, employing poor operating practices. We are frequently afflicted with “Policemen,” people who repeatedly jump in to tell callers that “the DX is listening up” – often adding a gratuitous insult. The rule is quite simple: never, ever transmit on the DX frequency for any purpose whatsoever. I will pay attention to the operator’s instructions if he is operating “split” so as to stay in his preferred bandwidth.
#5 – I will wait for the DX station to end a contact before calling.
If you transmit before a QSO is over, you are likely to interfere with the exchange of information, lengthening the QSO and slowing the process. It may seem clever to “nip in” as the previous contact is ending but many DX stations don’t like it, as such operating may break the pattern of the operator, which is what helps everyone to know when to transmit.
#6 – I will always send my full callsign.
This is essential for CW and SSB, because incomplete calls lead to an extra transmission, slowing the operator’s progress with the pileup. If the operator is responding to partial call signs, it may appear that you should call with only several letters. Generally, this is not the case. Always use your full call sign.
#7 – I will call and then listen for a reasonable interval. I will not call continuously.
Continuous calling is selfish and arrogant. With a computer or memory keyer, it is easy to send continuously. Unfortunately, it prevents you from listening and knowing what is taking place. In addition, it raises the QRM floor greatly, making life difficult for the DX station and everyone else.
#8 – I will not transmit when the DX operator calls another callsign, not mine.
Perhaps this is intuitively obvious, but it is a common occurrence. If it is clear that the station is not calling you, do not transmit.
#9 – I will not transmit when the DX operator calls another callsign, not mine.
In life outside amateur radio it would simply be considered rude to answer when someone else is asked a question! How do you know if the station is calling you? Perhaps the DX operator has a partial version of your call. Is it me? “The timing is right!” Yes, the timing may seem right, but it may also be “right” for many other stations. If the DX is actually calling you and hears nothing, he will call you again. Then you can call. Only one letter from your call sign is NOT enough, however. Calling when not being addressed raises the floor level of QRM and slows progress dramatically.
#10 – I will not transmit when the DX operator requests geographic areas other than mine.
You must recognise and accept that when an operator is calling for a specific geographic area (e.g. NA for North America, AS for Asia ), you must not call until the operator’s instructions change. Even if his choice appears incorrect, you must follow his instructions. The DX operator is in control. Here’s an important point: If a DX operator is working, some area, perhaps North America , and he fails to say so between QSOs, do not begin calling immediately. Call only when it is clear that the operator’s instructions have changed. To do otherwise is impolite and simply slows the process.
#11 – When the DX operator calls me, I will not repeat my callsign unless I think he has copied it incorrectly.
If you repeat your call sign, the DX station may think that he has your call sign wrong. He might then listen very carefully – again – thus slowing the process. A DX operator will generally log what he has if you say nothing further.
#12 – I will be thankful if and when I do make a contact.
There should certainly be a pride of accomplishment when you get a QSO with a guy in a far-away entity. But before you start basking in the glow of accomplishment, think about the help you received from your partners, perhaps Mr. Icom, Mr. Alpha, and Mr. Force 12. If your ego still feels a need to take ALL the credit, try again. But this time turn off your amplifier and connect your rig barefoot to a dipole. If you get through the pile up this time, then YOU, as the operator, can take more of the credit. You should also acknowledge that you would not have had the contact without the skill of the operator at the other end who undoubtedly made sacrifices to be there for you. So be thankful for all this help you received.
#13 – I will respect my fellow hams and conduct myself so as to earn their respect.
Respect is about behaving well toward others. DXing is very competitive. If you operate otherwise, you may acquire a bad reputation. DXing will be the most fun for everyone if we all behave with politeness, mutual respect and even a bit of humility!
I've fancied a portable soldering iron for ages and I almost bought a gas-powered one from Aldi at one point, but the quality didn't impress me and without quality, there's probably little reliability too. And so I looked elsewhere.
You can actually buy rechargeable irons but because soldering is something you only do occasionally I can guarantee that whenever I wanted to use it, it would be low on charge. I wanted something that I could use with my STORM2 Power Bank, which is always kept fully charged and ready for action (because it's now my power-source for all my QRP outings).
I didn't want to spend a fortune, but neither did I want to buy some junk, so after looking around, I decided on the Kaiweets KETS02 which is a compact 65W USB-Powered iron capable of reaching working temperature in just 8 seconds!!
The whole package cost me £45 with delivery and it comes with a nicely flexible, long USB-C lead. It can be operated at a number of voltages ranging from 9 to 20V, producing a range of powers from 13W to 65W.
The tip is quite small which is perfect for most of the stuff that I work with (small surface mounted pcb components) but I wondered how it would cope with chunky connectors such as PL-259s, so I made up a patch lead to try it. I was worried that the surface area of such a small tip would not transfer enough heat through, but it worked out fine. I did have to use the 65W setting but nevertheless, it worked without any problem at all, producing a good, strong joint.
Craft hobbyists might be interested to know that the KETS02 can also be used for leather and wood working, etc. There's a range of special tips available.
So I'm really happy with this tool and my 240V soldering station will no longer need to be dragged outside on an extension lead. The only issue that one could consider a negative is that the tips are obviously unique to this iron and you'd be advised to buy a spare or two. Having said that, I've got soldering irons that are many years old with the the original tip that's still in good condition (because I look after them).
Just seen the 'Overview Of Key Changes' as announced by Ofcom and for me, there's some useful changes. The amount of power I can use will increase from 10W to 25W PEP which will probably be welcomed by many, but since all my focus and interest is on HF QRP operation, it doesn't really benefit me. Having said that, 25W on VHF and UHF will be quite a useful boost.
A more useful change for Foundation Licensees is the ability to operate remotely using the internet. I occasionally operate remotely from home - sitting in the conservatory accessing the radio in the shack - but can now do it from anywhere in the world. That's cool.
I can also add the "E" RSL to my callsign while operating in England. I can't think why I'd want to except to maybe attract a little more attention on FT8 until everyone gets used to seeing it.
Another handy change will be that I'll be able to allow unlicensed individuals operate my radio equipment under direct supervision. That will really help operators to promote amateur radio.
For most repeaters, beacons and gateways you will no longer require an NoV. Licensees
will have to carry out an interference assessment to prove that they have minimised the
risk of interference to other users. For powers above 5W, a call sign must be obtained
from the RSGB. This will probably be viewed in equal measures of joy and sadness, lol.
Foundation License holders will be allowed to build their own equipment and access the 2.4GHz and 5GHz bands with a maximum power of 2W. Of zero interest to me currently.
And finally, a new DATA STATION mode of operation will be introduced to allow the authorisation of other data systems. I think this relates to stuff like APRS, Packet, etc.
So, no bad news there for me - happy days! When the green light is given for these changes, novices are strongly advised to read the small print of the new license and seek advice from knowledgeable amateurs or local clubs before marching into experimentations.
Finally, may I invite you to take a quick look at Ian’s Blog relating to the NoV bit? He’s extremely knowledgeable in this area.
NOTE: On the very first day of this Ofcom announcement, people are already in disagreement as to what these changes actually mean in real terms. Time will hopefully clear the fog, so in the meantime, exercise caution and seek advice.
I must begin by stating that I acquired this device at half the usual price, and that's about as much as I'd want to pay for any portable battery pack. They all seem to be mighty expensive to me and although this particular one has some fabulous features/abilities, I can't see how it's worth the price shown on Amazon (UK), then again I might be out of touch.
Okay, so this unusual looking battery pack is made by a Chinese company called Shargeek who were formed in 2020. They are innovators in the power-supply industry with the proud title of being the Number-1 selling brand for power-supply products on Amazon (US)!
They have a beautiful looking website which offers a good range of information on their product range and you can buy direct from them BUT bear in mind the inevitable delays and costs getting your goods to your country and the usual spanking that the Customs & Excise will apply in import duties. Probably better to buy from Amazon or similar and just accept the inflated (but final) cost price.
So what is it exactly? Well it's a Large Capacity (25,600mAh) Power Bank with some great abilities. It can provide power to 3 devices at the same time via the USB ports on the end panel. One of the USB-C ports is capable of outputting up to 100W which is pretty darned impressive and will be useful for a variety of applications.
It also has a really handy DC Jack which can provide up to 75W and variable voltages from 3.3V up to 25V (that’s handy!)but you cannot use the 100W USB port while the DC Jack is in use (but you can use the other lower capacity ports).
Rather strangely, the case on the Storm2 is transparent and although it serves no real purpose, it does look pretty darned cool. Inside you can see 8 genuineSamsung 18650 (3200mAh) batteries and they are enveloped in a fireproof wrap which is a nice safety feature. There is an excellent Battery Management System which provides protection for the unit or anything connected to it from Over-Voltage, Short-Circuit and Extreme-Temperatures.
The unit has a tiny, but very sharp looking colour screen which provides a wealth of information on what's going on with each individual input/output port, including Voltage, Amps and Watts. It also indicates the charge-level of the unit itself and which ports are in use. You quickly become accustomed to the simple colour-scheme, instantly recognising which data relates to which port.
The only negative that I can see (apart from the full retail price) is that the device might be considered to be a touch delicate because of its use of clear plastics. Weighing over half a kilo, this thing will land heavily if you drop it. Because it looks so pretty though (and costs so much), I suspect that most owners will treat it like their firstborn child, lol.
For safety reasons, I keep my Storm2 in a fire-resistant pouch when it's being stored and I keep it in an Anker case when it's being transported.
The Storm2 will serve me well as a power-supply for any of my QRP radios and should easily give me all-day use. Or I can plug my NoteBook or SurfacePro into it. Even my iPhone when I’m using it as a Wi-Fi hotspot outdoors. It’ll also be handy for my USB Soldering Iron!
For those interested, this powerbank is certified for use on aircraft, so great for frequent travellers.
So would I pay the full retail price for one? No, it’s just too much. I do love that fantastic info screen, but not enough to fork out Amazon prices. I’m very lucky to have got mine for such a heavily discounted price. If you plan to connect a variety of devices to the Storm2, remember to use USB cables which are specifically designed to handle 'fast charging' - I would recommend that you choose 100W cables - they're cheap enough.
My 13.2V 8400mAh FlightMax LifePO4 battery cost me £70 and has served me well over the last 4 years and it’s still going strong, so although it felt ridiculously expensive at the time, I guess it actually represents tremendous value for money. But, it lacks all the finesse and features of the Storm2 and requires careful management in order to keep it healthy. You also have to factor in a smart balance-charger which also needs to be monitored during charge cycles.
So there you have it - a fabulous device with amazing specs, features and flexibility!
INDEPENDENT VIDEO REVIEW
(Not Mine)
On a separate note, for those coming to this post thinking it was specifically about individual 18650 batteries, I guess I should mention that I do own some regular 18650s and they are of varying power levels.
One came with my Tecsun PL990X and I have another two which I got from FogStar website - a Molicell 3500mAh and a FogStar's own 4000mAh. They're both great batteries and relatively cheap. I only use them with my 990.
Many thanks for visiting the blog. Please feel free to leave a comment below.


.jpg)


