Sunday, 15 January 2023

ANTENNAS : DIY V-DIPOLE (Part 1)

DIY TELESCOPIC-V ANTENNA £35

This is the story of a little antenna experiment. I haven't really got a clue what I'm doing, but I never let that hold me back, lol. 

I was recently walking the streets of eBay when I stumbled upon a pair of telescopic whips with what appeared to be 3/8 UNF threaded ends. This reminded me of an antenna I'd seen on the ML&S website - a MyDel JPC-7 , which was basically a telescopic V antenna mounted on top of a tripod, with loading coils for each leg of the antenna. At £340 it seemed a tad expensive, but in all fairness, you got everything you needed including the tripod and carry-case.

The telescopic whips in question are each over 5M long when fully extended and a pair can be obtained from ML&S for £50, but on eBay I found them for £24. 

Now bear in mind, the cheaper whips that I bought are probably of a lower quality than those offered by ML&S.

When the package arrived a few days after ordering, I was saddened to see that there was only one whip in the box, so I lodged a complaint and quickly received another, along with a 10% refund.

The next thing to order was a V-Shape Dipole Centre, 3/8 to SO-239 at a cost of £11. This would provide the mounting point for the Dipole and give it the V-shape layout for the whips. How strong it is, I'm not really too sure at this point, but it does seem pretty good for light, portable use (ie, not left on top of a roof in howling winds forever).


The next hurdle to get over was how to mount the whips to a mast. I had a mast in mind already (my Diamond AM450 4.5M). I started out by fixing the V-Centre SO-239 to a stainless-steel plate from work and drilling holes in the plate to accept a vertically oriented mount or a 45 degree mount (to switch from V to L).


On the reverse side I mounted a Grounding Plug terminated with a female banana socket so that I could easily connect a ground.


With the mast at full height and the whips fully extended to 10 metres, the antenna will obviously be quite a handful without being guyed off. Thankfully, the AM-450 has a built-in guy-ring, so all I'll need is a few lengths of paracord and some tent-pegs.

OOPS!! Change of mind. Although the above design looked really neat and compact, I soon realised that it offered nothing in terms of support to the long whips. Maybe they don't need it - but I was uncomfortable nonetheless, so I went bigger.


Having more space to work with meant that I could offer some support, even though it's only a small amount. I achieved it by placing bolts in the upper corners and isolated them from the whip using part of a Sharpie Pen. Well, you gotta use what's laying around don't you? 😂


I did a quick test to see how it looked but it was incredibly windy, which meant I couldn’t really extend the whips. I did try, but I could see it had all the potential for going pear-shaped, so I only extended the first three sections.


To be honest, I was also not much in the mood for spending any more time outside in the bitter cold after just spending 3 hours cleaning my drive 🥶 
 

Although the weather brightened up by the time the drive was finished, it had got much colder. I’m convinced there’s snow on the way! I’ll just have to wait for a better day to do my trials, but at least I feel happy with the antenna support - it seemed to be strong enough and stable on the Diamond AM-450.

So far so good. But there's a couple of very important components missing here, and that's the loading coils. You can, of course, purchase these loading coils and probably even make your own, but first of all, I wanted to see it I could get away without them by  tweaking the whip lengths and using my Elecraft T1 ATU.

I figured that the best way to start out would be to erect the antenna and connect my NanoVNA to get an idea of where I stood on each band and then adjust the whip-lengths to find the best possible setting. I wasn't really expecting to achieve much, other than to give my tuner the best chance of finding a match. 

The next day the weather improved slightly, so I erected the antenna on the patio, connected a ground wire and raised the mast to 4 metres high. Sadly, my VNA refused to power up, so that looks like another little project to strip it down and see if I can find out what’s gone wrong with it 🤬

In the absence of an analyser, I decided to go straight to the antenna test with each leg of the dipole extended to 5.28M.  I fitted a 1:1 balun to prevent the coax becoming an RF radiator, connected the ATU and jumped onto the 20M band.

I could see straight away from the busy waterfall that the antenna was pulling in plenty of signals on this band. It was quite busy and so I attempted to make some contacts with my IC-705 on its maximum 5W output (internal battery).


My first QSO was with Ricardo (LX2AM) in Luxembourg. He was struggling to hear me but was very patient and gave me a 13 signal report. Not the start I was hoping for. Soon after though, I switched to the 17M band and got a 55 from Antonio (IU6QLJ) in Italy.

After that, I got another three contacts on 20M (DL0AH, DH1TT, F4ELA) before switching to 15M to get a 59 from II2WRTC.

Then I moved to 40M and made contact with G3SIG before finally speaking with SP8ALT on 10M.


The rain and wind decided to spoil the fun, so I quickly dismantled the antenna and called it a day. I was quite pleased with this initial test and it was good to make contact on 5 bands. I was surprised to see that the antenna also tuned up on the 6M band (50.300MHz SSB) but there was no one around to answer my CQ calls.

The thing to bear in mind is that this first test was done in a poor location and I very much look forward to trying it out from a hillside or seaside, which is where it would naturally be used.

I also need to look at MAYBE buying or making a loading coil because some bands just couldn’t be tuned - not even with the mighty Elecraft T1 😮. The only trouble with introducing a loading coil is that I’d need two - one for each whip - and I’m not sure I want to go that far. If it gets too complicated, I’d probably just use my SotaBeams Linked Dipole.

The attraction of the V-Antenna is that it has a relatively small footprint which makes it handy to use in certain places.

Ah well, we’ll see what happens in the next test, where I’ll be at a much better take-off location.


Until then, best 73, Tom, M7MCQ.

UPDATE <<< 5th FEB 2023
I altered the mounting plate (again). This time I used a UPVC Chopping Board! It’s light, strong and simple to work with. It also spreads the support-posts further apart from each other which helps.

Today I decided to see if I could get it to work on 4M, so I started by extending each leg to around 1100mm long and connected it to my NanoVNA. I guess I got lucky because the SWR was 1.12:1

With a little more fiddling, I got a perfect match and so I attached my Wouxun KG-UV8G and put out a call. Immediately, my friend Bill (G4CFP) returned to the CQ. He lives in the same town as me, so it was no test of reach, lol 😂 but at least it proved it worked. He said it sounded perfect, so that’s a good start.

Just need to spend a day on top of Winter Hill with it.


G4CFP


UPDATE <<< 7th FEB 2023
I mentioned that the whips were cheap and cheerful at £24 for the pair, well it turns out the quality was not good. One of the end sections completely came out and I suspect that the others will be equally vulnerable. Once this happens, there's no going back because they become very loose - to the point where you would end up taping them to hold them in place.

Obviously that's not good, so I've sent off for a new pair from ML&S.

Buy cheap, buy twice!! 😳


Tuesday, 10 January 2023

WHY JOIN A CLUB?

999999

IS IT WORTH JOINING
YOUR LOCAL RADIO CLUB?


Some hams operate alone and have no desire to get involved with other operators on a face to face basis and that's obviously their choice, but there's a lot to be said for joining a local radio-club and that's what I want to look at here.  Through different hobbies I've learned that there are many benefits to joining a club and over the years I've greatly enjoyed my membership of the local Biker Club, Art Club, Photography Club, and more recently Radio Club.

Clubs offer different things to different people. Beginners who are looking to get into the hobby can gain access to a wealth of knowledge and advice at their local club, including help with training. Radio equipment and antennas are often readily accessible too. 

Clubs offer members plenty of other learning opportunities in the form of Guest Speakers and Demonstrations and not all of these need to be outsiders - sometimes it's equally valuable and entertaining to have a Club Member do a Show & Tell on a subject that he's particularly passionate about such as 'Operating Remotely' or 'Introduction To C4FM' or 'DIY Antennas', etc. There's always something new to learn in this great hobby and at the Club, there's always someone with valuable information to impart.

It's worth pointing out that some clubs might be focused more on Social Meets rather than Radio Activities, so make sure that you choose the right one for you. Or join both! 😊


Most clubs arrange activity events throughout the year and these are varied to suit the many different interests of the members. Some will be interested in a QRP Field Day while others might prefer a day-trip to Jodrell Bank or Hack Green. Everyone's catered for and everyone's free to suggest something. 


As a group, club-members take part in all sorts of little projects like...

  • Building a Repeater
  • Operating Remotely
  • DIY Antennas
  • Learning To Solder
  • Building Electronic Kits
  • Erecting Antennas
  • Planning Permissions
  • Entering DX Competitions
  • Working with Linears
  • Working QRP
  • SOTA & POTA 
  • Exploring Digital
  • Using VNAs
  • Using Morse Code
  • QSO with a Space Station
  • Setting up DSTAR, C4FM, DMR
  • Setting up Logging Software
  • Raspberry Pi for Amateur Radio
  • and many, many more!


More than anything though,
Radio Clubs exist to bring together like-minded people and to create an environment in which they can relax, enjoy, study and learn. In a busy world full of work commitments, stress and worry, your visit to the Club can mean a very welcome break!

So why not try your local Club?
It costs nothing for your first few visits and ongoing membership costs are minimal. You'll almost certainly gain from your membership and although you may not think it, you may well end up helping others out - we've all got something to learn and something to teach. Take a friend along with you!

_______________________________
My Local Clubs


Ladybridge,
BOLTON,
BL3 4RZ.


_______________________________


Hollins Social Club
Off Hollins Lane
Bury
BL9 8BA


Miners Welfare Club
Meanley Road
Gin Pit Village
Astley
M29 7DW.


Sunday, 1 January 2023

NOT RADIO - BIKE (CB650R)

HONDA CB650R NEO SPORTS CAFE

Back in the 70's I was a scruffy little toe-rag with big dreams and little money. As a teenager, I'd stand outside our local motorcycle shop (Charlie Robinson) and stare open-mouthed at the beautiful CB400/4 displayed in the shop window, dreaming of the day that I could afford to own such a monstrously gorgeous machine. My heart actually ached - it was my first love 💖😅

Honda's 400/4 was one of those rare bikes that comes along now and then which is just very, very special. The main features which stood out for me were the simple, almost slab-sided fuel tank void of tacky decals and that drop dead gorgeous 4-into-1 exhaust. Eventually (years later), I got to own one and in later life I even restored one - resulting in a concours machine which actually ended up going back home to Japan, 33 years after leaving.

Anyway, fast forward to 2023 and I'm looking at the equally gorgeous (in my eyes) CB650R NEO SPORTS CAFE which nods its head to the old 400/4 by having a similar 4-into-1 exhaust system.


The 2023 650/4 is a very compact and simple bike, much the same as the old 400/4 and unlike many modern bikes, it has no ride-by-wire throttle, no engine mapping modes and only rudimentary traction control and ABS. 

What it does have though, is a high revving 4 cylinder, DOHC engine with a redline area between 12,000 and 14,000rpm producing around 95BHP and 50 lb ft of torque. Now that's my kind of engine! I know that parallel twins are quite popular these days, with their grunty mid-range, but I'm just not a twin kinda guy. I like a screamer! 😲 I am addicted to the wailing banshee sort of sound that comes from working an IL4 hard. I find parallel twins quite boring.

 
Honda's 'NEO SPORTS CAFE' styling fits in well with the bike and the round headlight harks back to a bygone era (even though it's actually a very modern LED unit). I also love those two offset air-scoops either side of the fuel tank. I'm not sure though, why Honda hint that it’s a Cafe Racer because it doesn’t have a mono seat and it doesn't have clip-ons - in fact the handlebars are wide and the dual seat is quite generous!

Unlike the 70's Honda, this bike is built in Thailand and to a very high standard if appearances are anything to go by. The paint finish, enamelling and anodising all seem to be extremely well done and you only have to examine the switchgear to see that this isn't a 'cheap' bike, despite it's relatively budget price of £7699. When I first saw that it was a Thai Honda I was a little sceptical because of my experience with the CBF1000 back in 2006. The finish on that Thai built bike wasn't the best, but having said that, it was 17 years ago and it was the cheapest 1000cc bike you could buy, so I guess things have moved on considerably.

It's fitted with 'Big Piston' upside down Showa forks at the front and a Showa spring at the rear. Thankfully, for 2023 Honda have changed the colour of the rear spring to red from the old (dreadful) pale yellow. There is no adjustment on the front suspension but there are pre-load options on the rear. There's also twin radial brakes at the front using 4-pot Nissin calipers.

I have to say that I find the ride quite harsh - especially the front end. It really is quite stiff and you feel every bump in the road - it's like you've pumped up your front tyre to 60psi. Now bear in mind that I've previously owned the CB1000R, three Fireblades and a CBR600RR which are all very sporty but none have felt as stiff as this one.

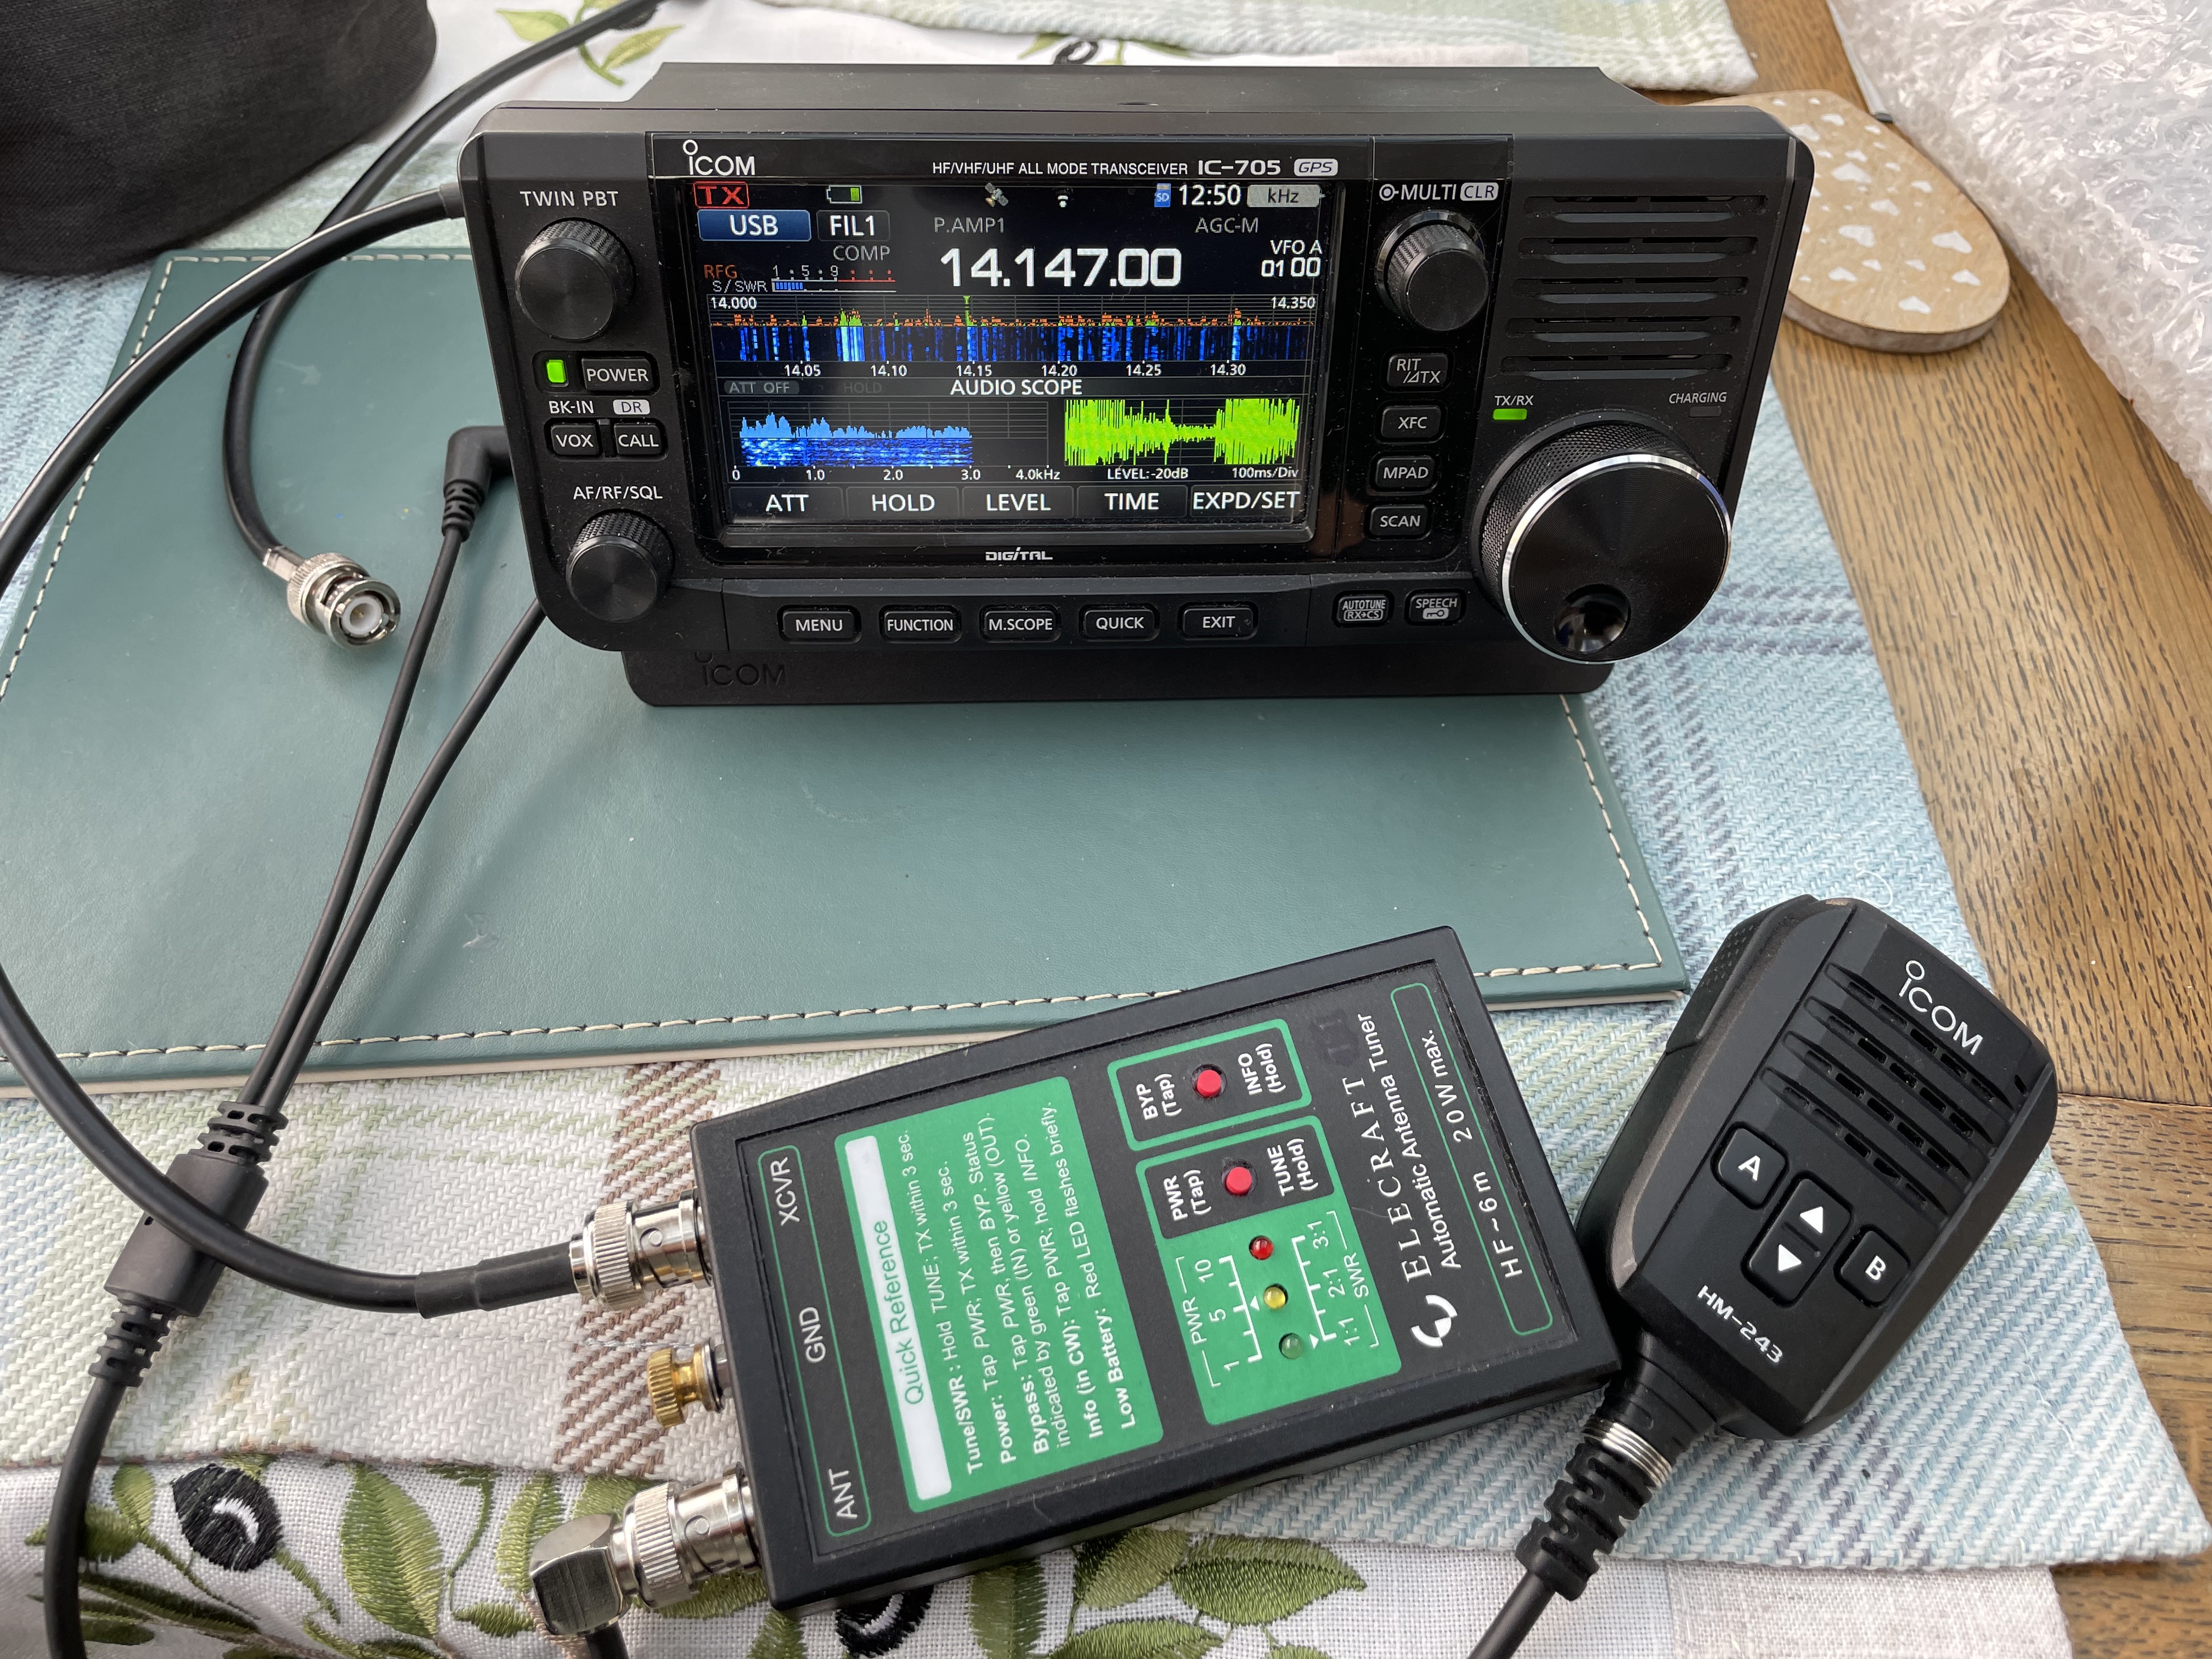
The 'dashboard' is a simple LCD panel which has inverted colours (white on black), showing the speed, the revs, the fuel, the temperature, the time, the mileage and a very handy gear indicator! It can sometimes be a little difficult to see in bright sunlight compared to the very latest TFT screens, but overall it's fine. On the right side of the screen is a bank of warning lights and a long vertical strip which flashes as you approach the rev limit to tell you to change gear.


At the point of sale, I blagged a free QuickShifter from the salesman worth around £285 fitted. The bike already has a beautifully slick gearbox but the addition of a QuickShfter really adds to the fun of fast riding. It should be noted however that this is an UpShifter only, where some bikes (eg Suzuki's GSX 8S) have Up/Down Shifters.


The fuelling on the CB650R is great - no doubt due to the fact that it has good old fashioned throttle cables instead of ride-by-wire. It behaves very well in slow traffic around town, with no on/off surging. The engine pulls well at low revs in city traffic but for rapid acceleration you do need to get that rev-counter swinging.

Out and about on faster roads, you will notice that there are some tingling vibrations around 6,000rpm - they're very noticeable through the footpegs, so you learn to avoid 6k like the plague. Other than that, the engine is super smooth - as you'd expect from Honda.

Something I don't particularly like on the CB650R is the riding lights - the orange indicators stay illuminated (around 50% brightness) as you ride along. This is a very American thing and something I wish could be turned off.

The bike weighs 200kg and is therefore a true middleweight - it's not the lightest out there, but coming from a tourer, it feels amusingly light to me. The seat height is just under 32" which is just about right for me and I'm comfortable with the peg-height. I can also just about get both feet flat on the ground (even though I've got a shorty 29" inseam).

Sadly, there's no center-stand, so you're going to have to invest in a separate stand for doing your chain maintenance, etc. I already own an Abba Stand, so I only needed to pay for a small fitment adapter. I believe there are some paddock stand adapters that can be fitted to the swingarm but not the usual screw-in bobbins.

My first outing on the bike (enroute home from the showroom) was smile-inducing. It was so nice to have something so light and nimble and agile between my legs 😂. It felt like the bike reacted to the mere thought of changing direction. And the acceleration was perfect for British roads. I always remember the owner of Charlie Robinson's Honda Shop back in the 70's telling me that anything more than a 400/4 was a waste on our roads. And you know what? He wasn't far wrong!

After breakfast in Lytham, I spent the day flirting around all my usual haunts in Lancashire and North Yorkshire, going from Blackpool to Glasson, Lancaster, Kirkby Lonsdale, Sedburgh, Hawes, Kettlewell, Grassington and then back to the caravan to let my wife have a look at it.

The seat isn't the plushest I've sat on, but I doubt one would be travelling for many hours at a time on a bike like this. A comfort break every couple of hours is required. It's about that time you'd be stopping for fuel anyway.

I'm extremely pleased with the bike and can see many a happy outing over the next few years.

Regards, Tom.

UPDATE : Made some mods to the bike - nothing too drastic. Added Heated Grips, Puig Retro Screen, SatNav, Bagster Tank Cover, etc...