Having owned some of the best transceivers in the world, is it a surprise to see what it's been whittled down to today? I guess many will think I'm an out and out nutcase, but the fact is, I've experimented and enjoyed every minute of it. Being the sort of person who loves a bargain (and the art of negotiating), I've managed to snaffle some fantastic deals over the last few years which has usually allowed me to get my money back when I've sold the equipment and even make some money along the way. Sometimes I've been able to pass on a bargain to a friend, which is also nice. I learned that you can get a 7610 for under £2400 and you sell one for the same amount 4 years later. You can buy a KX3 for £700 and sell it later for £1700 😮
Farewell my beautiful friend
The very best radio I've owned was the IC-7610 without a doubt. Better than my FT-DX101D and better than my EE MB1 PRIME. It was just a magnificent machine, but I had to face the fact that I barely used it since buying a holiday home. The big radios just sat gathering dust in my shack and with times being how they are, it seemed ridiculous to have all that money sat idle, so I thought long and hard about how I typically spend my radio time and made some drastic changes.
Being unable to have a 'proper' antenna at my home QTH was always the elephant in the room. I had two EFHW's oriented North-South and East-West and that's it - they were the best I could make of a bad situation. Having said that, I've managed to bag some seriously good contacts with those antennas and the 7610.
But I've also bagged some amazing contacts from the shack using a £60 QDX and a £90 (tr)uSDX. So you have to question the cost-efficiency of those big radios, especially when you are a QRP operator.
So, with the jewel removed from the crown, I decided that my IC-7100 would remain in the shack and become my main radio there. It's the only transceiver in the world which covers HF, 6M, 4M, 2M, 70cm and DSTAR. These are probably the most underrated radios of all time and it will be fine for everyday use.
Because the 7100 isn't an SDR radio with all the benefits of a scope and waterfall, I also installed a HERMES LITE 2 PLUS which is simply incredible value for money and has some of the best software available at any cost! I recently spotted another one of these on Facebook Marketplace for £200 and the day it arrived, I posted out to a buyer for £275 😁
For things like POTA and FIELD DAYS where you have the benefit of being in a vehicle, I have the stunning MISSION RGO ONE radio which is just an absolute joy to use. For SOTA type outings I sometimes use the amazing ELECRAFT KX3 transceiver which has become a classic and is highly sought after, not only as a portable, but also as a base-station when using an amplifier. The receiver is just stunning!
And that leaves the glorious IC-705 for no other reason than I love it. I very nearly sold this and then came to my senses. It's the most advanced QRP transceiver in the world - bar none! Apart from covering HF, VHF and UHF, it also has a myriad features and functions that leave you in awe of the Icom design team.
Have you changed your shack a lot? Or are you the sort of person who sticks with the same trusted rig for years? I'd be interested to know in the comments section below.
Most hams who love to operate outdoors, prefer to work at QRP levels. Being in the great outdoors usually gives you a fabulous take-off and provides a super-low noise-floor. 10W, 5W, even a couple of Watts can get you across the Atlantic on SSB and that’s something that just thrills me and keeps me interested in the hobby.
Back home however, all the stars need to be aligned for long distance QSO’s to take place. It’s doable of course, but it can be hard work for people at the other end of your transmission, which means that I avoid joining in on any overseas Nets. It’s the main reason that I don’t do much transmitting from the shack. No big deal, cos during Spring, Summer and Autumn it’s easy to setup outdoors. A pleasure, in fact!
I actually have a Xiegu XPA125B amp (boxed and on sale (now sold)), which produces 100W from a 5W input, but it’s useless to me (it came with a radio that I bought (X6100)). The problem with it is that you can’t turn down the power - it’s 100W or nothing! I’d keep it if I could feed it with 1W and get 25W out. Why?? Because at the end of February OFCOM will be allowing Foundation License holders to use 25W.
What I wanted was an amp which would provide me with 25W comfortably without putting strain on it. I looked at the Neptune 50W but, for the amount of use it would get, it was more than I wanted to pay (and I couldn’t find any used models anywhere).
And then I read some reviews of the MX-P50 made by Sun Xiao in Shandong, China. Being a very happy owner of a fabulous radio from China (FX-4CR), I'm not one of those "Let's hate China" brigade, so the MX-P50 seemed to fit the bill. It was just a case of finding a used one for a decent price.
With the 80-10M MX-P50 being able to produce 45W from a 5W input, I knew that it would be positively coasting along at the 25W limit I’d be setting, so longevity shouldn’t be an issue.
When it arrived, I could see that it had never really been used. It had been a backup amp to a HardRock/Hermes setup and had spent most of its short life in the box. The amp is really very compact and light - great for those who want to take it with them on a Field Day.
Apparently, it works well with a range of radios including the FT-817, KX3, IC-705, etc, but people using more obscure transceivers may experience issues.
The amp’s power cable was fitted with Anderson Power Poles and the interface cable was terminated with a 3.5mm stereo jack plug. This was perfect for my Icom IC-705 and worked straight from the get-go.
I know I'm drifting a bit here, but I think it's important to realise that amps can send current back into your radio if a spike is generated by the relays during switching. This current might be small, but it can cause damage to your radio's keying circuitry. This isn't a problem unique to the MX-P50M - it can happen with any generic amp.
I'm guessing that most people ignore this potential problem (or just aren't aware of it) and probably get away with it, but I don't want to put my radios at risk, so I use a buffer device from a guy called RADIODAN in the USA. He calls it an RBI-1 (Relay Buffer Interface) and it can be adapted to work with virtually any radio (although he sells specific interface kits anyway). It will work with any radio that has a keying output which goes to GROUND when transmitting.
Using this relay buffer provides peace of mind and is (IMHO) a very worthwhile accessory for all your QRP radios - all you need to do is make up a different lead for each keying connection type - for example on many radios it will be a simple 3.5mm jack, while on others it will be phono (RCA) or even something like a multi-pin DIN.
There is also a 'mod' which can be carried out to prevent spikes into your radio involving you opening up the amp, cutting a couple of wires and soldering few small components. It's detailed HERE in this video where the construction method is better explained. The mod was designed by Kevin Loughin and his video can be found HERE. When I opened up my amp, I discovered that the previous owner had already carried out the mod.
So, back to the amp itself. When connected to power the MX-P50M circuit is live all the way through to the relays even though the Power Toggle is in the OFF position, so don't switch the amp off thinking that it's not draining any power from your battery - it is - only a tiny amount, but it's there.
With all the connections made between the MX-P50M, the RBI-1 and the IC-705, I switched the amp on, set the radio's power to 1W, switched to CW and briefly stabbed the key - the amp worked! I sent a few more dits and dahs before switching over to RTTY mode and keying the mic to send a more sustained output. Everything went well.
Now it was time to insert a Power Meter so that I could find out how much power into the amp would result in 25W out (to the dummy load). With the meter inline, I observed the following results...
The power-out reading on the radio pretty much mirrored the power-out on the meter (x10), so that was great. It altered slightly on different bands, but not a mile off. So 2.5W in, 25W out 👍
Obviously, for those who are licensed to use it, there's 45W available. So there you have it, a nice little amp which is just perfect for UK Foundation License holders and their QRP radios.
UPDATE JAN 2025
Since writing this post I have managed to connect the Elecraft KX3 and the Elad FDM DUO to the amplifier too - click here!
73, Tom, M7MCQ.
MX-P50M HF POWER AMPLIFIER
Specifications
Frequency Band : 80m 40m 30m-17m 15m-10m Operating Modes : SSB CW AM, RTTY and FM-Reduced duty cycle RF input : 5W Output power : 45W+ Band mode : Manual Power requirement : 13.8V 8A , RED “+” BLACK “-” Cooling method:passive air cooling Antenna connector : SO-239 50Ω Size : 155*100*35 ( mm )D*W*H Weight : 0.55Kg
I was preparing to invest in a new radio from Mission in Bulgaria and had gone as far as choosing which modules I wanted and joining the long waiting list. The total cost including delivery to the UK was over £1100.
Radio engineer (and all-round nice guy) Boris Sapundzhiev (LZ2JR) took my order and said he would send the invoice when it was ready for shipping. I was excited but was dreading the wait - I'm not good at waiting!
Later that day I spotted some eHam Reviews and emailed one of the reviewers to see if he could offer any tips/advice on getting the most out of the radio. To my amazement, he wrote back and explained that he hadn’t used ANY of his radio equipment for many months and told me his RGO ONE was stuck in a cupboard along with his new, unused TS-590SG. He didn’t even have any antennas up. The RGO ONE only had a few hours use logged.
He explained how the radio was configured….
80-10M RGO ONE Transceiver
Heavyweight VFO Dial
160M/60M Module
Auto ATU Module
2.8kHz 8-pole Filter
Bourns Optical 128ppr Encoder
H-Mode HDR First RX Mixer
The only desirable thing he didn’t have installed was the Noise Blanker Module - something I could add later if needed. I asked him how much he wanted and moments later, we shook virtual hands! Talk about lucky!!!☘️☘️☘️
Now bear in mind that the RGO ONE is one of the most highly rated SuperHets around and there’s a long waiting list for them. On the used market they’re rarer than hens teeth!! And it seems that no one has a bad word to say about them.
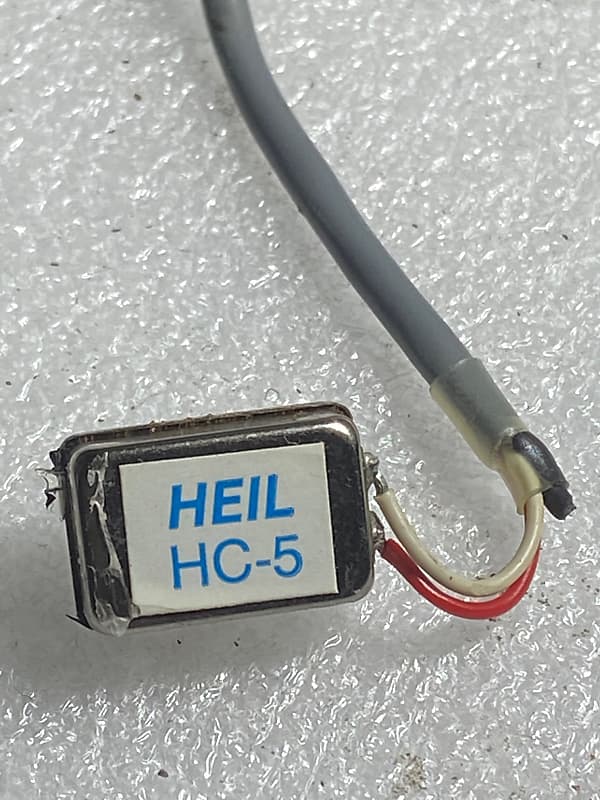
I contacted Boris to cancel my order and then paid for my secondhand “Little Warrior”. It took just a few days to arrive on my doorstep. The seller had wrapped the parcel very well and had kindly included some free accessories, one of them being a TYT hand-mic which had a HEIL HC-5 insert worth about £100 apparently.There was also a very nice Icommic which turned out to actually be the nicer mic according to folks who were courteous enough to do some A/B tests with me. I think that the Yaesu may have beaten the Heil because it was perceived to be nicer to listen to, but I suspect that the Heil will be the better mic for "punching through" to dx stations. We'll see.
There’s something very appealing to the eye about the radio which is very contrary to modern aesthetics. It looks more like a piece of Lab Test Equipment. And that’s a good thing as far as I’m concerned. It’s unique, refreshing and in keeping with Boris's top-performing, "Golden SuperHet" theme.
I think it may have been Practical Wireless who categorised it as a 'Boutique Radio', likening its old-school/new-school architecture to Sean Connery in an Aston Martin DB5 with a high performance Tesla electric engine! 😂
The Mission RGO One (pronounced Argo-One as a nod to the TenTec Argonaut) is a hand crafted classic Superheterodyne (9MHz IF Down Conversion to 134kHz) transceiver covering 80M to 10M or 160M~10M if you have the optional module. It is listed in many places as being "All Mode" but the truth is, there's no AM or FM. At the time of writing, the RGO One comes pre-built and aligned, but I believe it will be available at some point in the future as a modular kit - not unlike Elecraft's 'kits'. I like this format - it makes these radios feel more 'accessible'.
There’s no scopes or waterfalls - it doesn’t even have a sound card. In fact, it doesn’t even have a manufacturer’s name or logo on the front panel (no vanity here).
The radio's compact dimensions (90x200x270mm) make it the perfect candidate for a wide range of situations ranging from a full-time Base Station in the shack, to participating in POTA events and Field Days and generally any outing which involves operating close to the car. It's not particularly suited to SOTA work though.
The radio will transmit as little as 1 Watt but I'd love to see a firmware update to permit milliwatt adjustments - there have been plenty of times where I've managed to make contacts at 100mW on my IC-705 and I'd like to do the same with the RGO.
This Bulgarian beauty is not only gorgeous but it's a very fine transceiver too, with superb ergonomics. The front panel is incredibly simple and straightforward. Pretty much everything you want to do can be done by pressing a button on the front. The only things in the menu system are those rarely adjusted settings.
The big, heavy VFO dial spins smoothly and freely - it feels superb! The other rotaries feel smooth too and the push-buttons are crisp. Each button has two or three functions and they're all clearly labelled.
The four knobs are 3D printed and are a bit of a let down visually, but they're very easily replaced (see above) - they only cost pennies. I believe that new radios will be delivered with much smarter knobs thanks to an investment into a plastic injection moulding die.
The large LCD screen is uncluttered and easy to view in direct sunlight. At night it's well lit. As much as I craved scopes, waterfalls, meters and masses of information on SDR radios, I also recognise the beautiful simplicity of a good LCD design.
Around the back (depending on the options you paid for) you get a nicely laid out set of connectors including a single Antenna (SO-239), RX-IN, USB, SPKR, Paddle, ACC1, IF OUT, PTT, LINEAR, TRANSVERTER IN/OUT and of course, GND. Thankfully, the power-connection is via Anderson Power Poles.
In the photo below, you can see that the radio is fitted with twin cooling fans which attach to the large heatsink. I will probably remove these and store them away because I only ever run QRP, so there's no point having them - they just increase the depth of the radio. If I ever upgrade my license, I can always refit them.
POWER ON
I connected one of my LifePO4 batteries and switched on, resulting in the LCD lighting up and virtual silence. I turned the AF dial and still there was nothing - even at full volume, I could barely hear a noise. That was the measure of the receivers noise floor - very quiet!
Attaching my EFHW soon lit up the S-Meter and the joy of spinning that big VFO began. To be totally honest, I found the dial to be uber-sensitive and need to see if there's anything in the menu to allow me to slow it down a little.
There's no 500Hz step available which I really do miss (it's available on most every other radio I own)! On SSB I find that generally, people transmit on a 1K or half a K frequency. In fact, I've found more and more people using half-k frequencies (like in the video sample below). Having that size step makes tuning so much quicker!
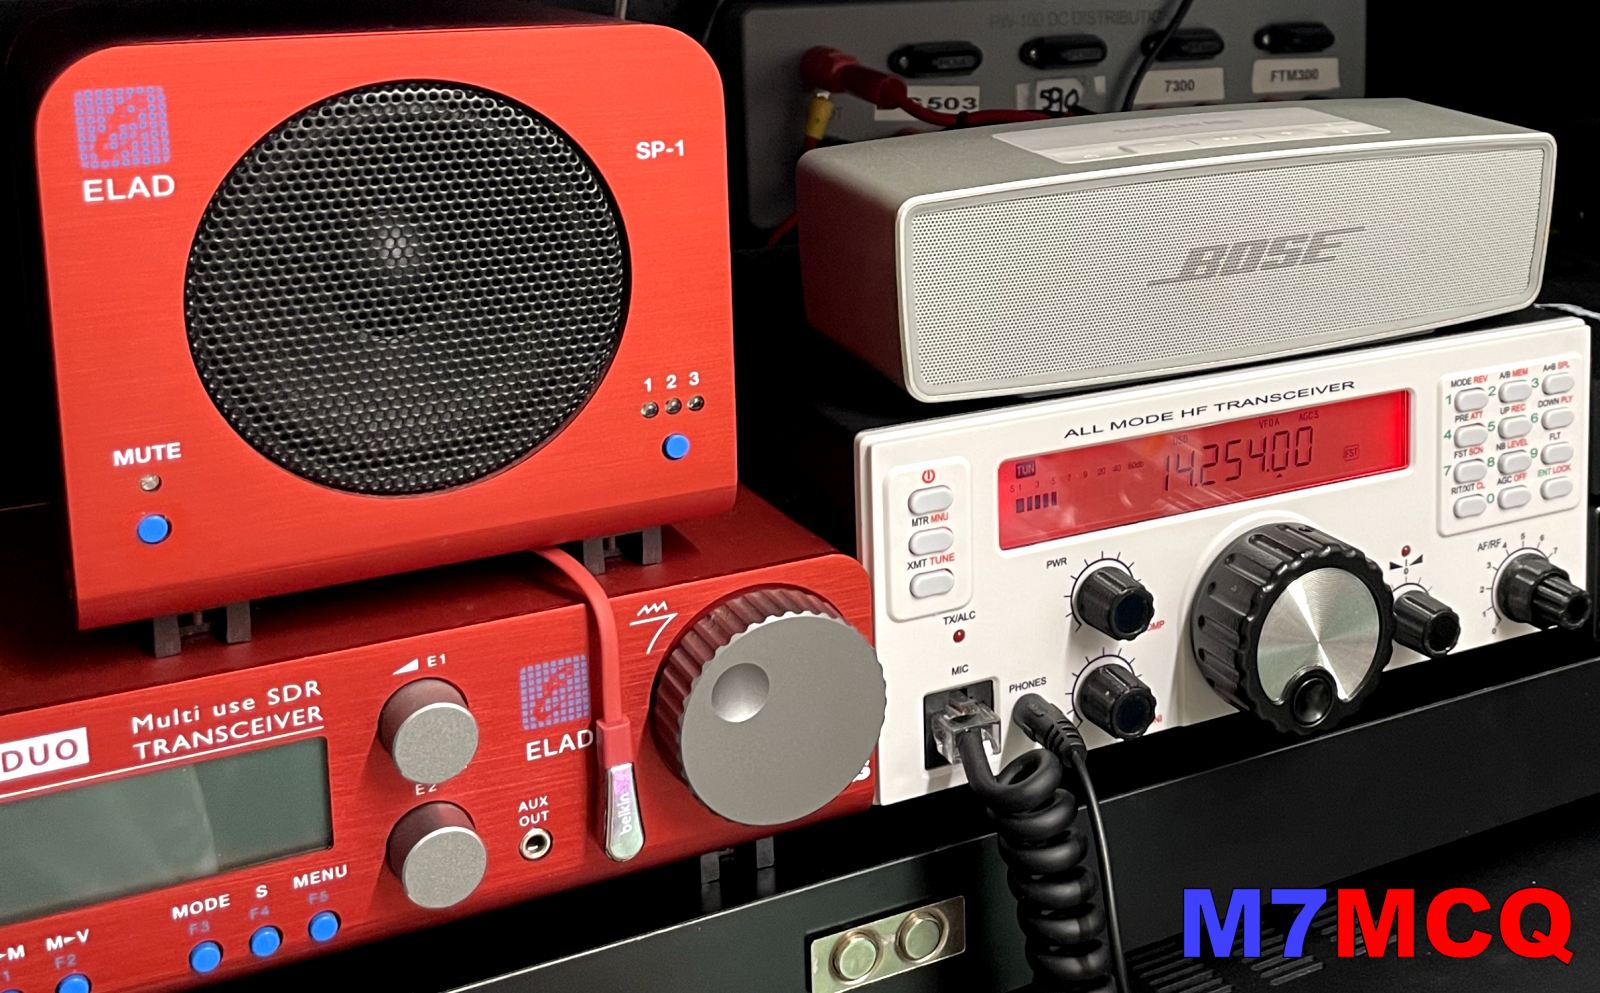
Anyway I spun the dial and found a station on 20M and the audio sounded nice and rich - it reminded me very much of the ELAD FDM DUO.
The audio through the built-in speaker seemed quite loud and I'm sure that it would be fine outdoors as long as you weren't in a particularly noisy environment. Having said that, I prefer a speaker to be forward facing, so at home I plug in my portable Bose speaker and it sounds fabulous! When outdoors I usually use headphones.
Having the RGO and the ELAD side by side is really handy for A-B comparisions. I have them both sharing the same EFHW and it's very easy to compare the two. Needless to say, you have to bear in mind that they are using different external speakers, so one (the Bose) sounds slightly more 'bassy'.
I need to do more testing when conditions are better and when there are more operators on air, but for now, it seems like there's very little difference between the two receivers. I did, of course, make sure that the ELAD was being used in StandAlone mode and not benefiting from the SW2 PC software. I also switched off the NR/NB.
The ELAD is internationally recognised as being a finereceiver, so it's good to learn that the RGO ONE is on par when tuning into those weaker stations. There was just nothing between them!
I also compared the RGO ONE to my FLEX 6300 Signature Series and the RGO was much nicer to listen to in a direct A-B test. That goes a long way in my book!
Needless to say, the RGO was much easier to use than the ELAD thanks to the superb ergonomics. As much as I love and adore my ELAD, I cannot deny that the ELAD's "modus operandi" is not exactly intuitive. It's fine if it's the only radio in your shack, but when you have multiple radios, it's easy to forget which "F" button does what.
The large LCD of the RGO ONE is also a bonus - so simple, clear and well defined. There's no hunting around looking for information - it's right there in plain sight - even if your eyesight isn't what it used to be! Although I wear reading glasses, I don't really need them to operate this radio. Can't do that on the ELAD because although the screen is crystal clear, it's small 😵.
It basically plugs into your audio device's headphone socket (3.5mm stereo jack) and then transmits the audio via bluetooth so it can be picked up by any bluetooth speaker or headphones. It works superbly!
This was a great purchase at £11 and I might actually get a spare one so that I can connect it to other equipment which lacks bluetooth connectivity. It can also be switched to RECEIVE bluetooth signals instead of transmitting them.
Over the next few weeks, I used the RGO One as often as I could, including weekends and I was hooked with the radio's performance and ease of operation. All the time I used the ELAD for comparison. At some point in the near future I will be ordering the RGO Noise Blanker and then I can do some more Bulgaria vs Italy tests.
It's a shame, but I don't do CW and I was well aware that this radio with its clickless pin-diode switching is a CW operators dream! Like many other modern radios, the RGO has Memory-Keying which makes repetitive calling a breeze. I may lend the radio to a friend from the Radio Club to get an independent opinion on CW operation and update this page later.
At one point, I took the radio out of the shack to a well known local hillside called "Winter Hill" which is around 450M above sea level. I connected my SotaBeams 20/40 Dipole and was grinning from ear to ear at the signals booming in. The people I spoke to were mightily impressed with my 5W signal and the "excellent audio" which was commented on multiple times throughout the day.
I am aware that some people have suffered broadcast station break-in on the ham bands when living close to a Broadcast Radio Transmitter, but I've experienced none of that even though Winter Hill is a Broadcast and Telecommunications Site pushing out up to 100kW of signals to the whole of the North West UK. Having said that, I have discovered that Boris provided a High Pass Filter for this particular radio of mine and the previous owner also carried out a "mod" recommended on the RGO Website.
The Winter Hill outing proved to me that not only was the radio fabulous at pulling in stations from around the globe with relative ease, but it could also handle environments which might normally be considered hostile to amateur radio.
I've decided that the RGO ONE will probably not live in my home-shack, but will instead live at my holiday home (static caravan) on the edge of the Forest Of Bowland. I go there virtually every weekend and that's when I play most radio, so it makes sense to keep it there. The noise levels over there are almost non-existent and there are plenty of places that you can drive up to and find a great operating spot, sometimes with a bench or even a picnic table. That's ideal for the RGO ONE because of its weight (2.3kg).
The RGO One is fairly good on battery life, using about 650mA on RX - that's obviously not comparable to the very energy-efficient KX3 (150mA) and IC-705 (250mA), but then it's not that kind of radio. You wouldn't take an RGO ONE to the top of a mountain and expect to operate all day. With the RGO, you'll probably always be close to your vehicle and a spare battery. My Zippy 8400 lasts long enough for most of my outdoor radio sessions.
Some might be interested to know that there's a relatively cheap waterproof case from CPC that's suitable for the RGO One. It's not a Pelican, but it's certainly worth the money and keeps the radio safe when transporting it....
So, I think you can deduce from my ramblings that I am very happy with my Bulgarian radio. The company's owner (Boris) has already proved that he's very passionate about this project and it's going to be great to see it grow and be a part of it. He cares very much about his customers and always finds time to answer queries.
So, that's the good.
Here's the ugly... there is none!
So now I am 99.9% happy and enjoying this wonderful little transceiver. If the 500Hz step size was sorted out in a firmware update, this would be 100%.
I started a FaceBook Group Page and at the time of writing it has well over 300 members who are passionate about this little gem. If you are an owner or thinking of becoming one, please do join us. We all share information, tips and advice.
UPDATE 23 MARCH : Installed Noise Blanker
This noise-blanker can be a game changer for those suffering with local noise. It is well worth the money and I strongly recommend the upgrade. Below is a video showing its effectiveness against a modern Yaesu SDR radio...
Noise Blanker in operation
UPDATE Apr 2024 :
I removed the fans this weekend because I only operate at QRP levels, so no use having them fitted (I've never actually see or heard them running). It leaves me with space in the case for a microphone and power-lead.
UPDATE JUNE 2024 :
I spotted another for sale locally so I bought it so that I had one for home and one for the holiday home. Then it dawned on me that I was being extravagant, so I sold it on and it lives in someone else's shack now :-)
73, Tom, M7MCQ.
VIDEO SAMPLE…
QSO with a lovely Irish guy on 40M
IMAGES…
INTERNAL PIX & ATU PIX
SPECIFICATIONS:
QRP/QRO output 1 – 50W [1 watt increments]
All mode(?) shortwave operation – coverage of all HAM HF bands (160m/60m optional) No AM/FM modes
High dynamic range receiver design including high IP3 monolithic linear amplifiers in the front end and diode ring RX mixer or H-mode first mixer (option).
Low phase noise first LO – SI570 XO/VCXO chip.
Full/semi (delay) QSK on CW; PTT/VOX operation on SSB. Strict RX/TX sequencing scheme. No click sounds at all!
Down conversion superhet topology with popular 9MHz IF
Custom made crystal filters for SSB and CW and variable crystal 4 pole filter – Johnson type 200…2000Hz
Fast acting AGC (fast and slow) with 134kHz dedicated IF
Compact and lightweight body (5lbs / 2.3kg)
Custom made multicolour backlit FSTN LCD
Custom moulded front panel with ergonomic controls.
Silent operation with no clicking relays inside – solid state GaAs PHEMT SPDT switches on RX (BPF and TX to RX switching) and ultrafast rectifying diodes (LPF)
Modular construction – Main board serves as a “chassis” also fits all the external connectors, daughter boards, inter-connections and acts as a cable harness.
Optional modules – Noise Blanker (NB), Audio Filter (AF), ATU, XVRTER, PC control via CAT protocol; USB UART – FTDI chipset
Double CPU circuitry control for front panel and main board – both field programmable via USB interface.
Memory morse code keyer (Curtis A, CMOS B); 4 Memory locations 128 bytes each
Classic superhet design – with popular 9MHz intermediate frequency. Filter method DSB to SSB modulation
Coverage of the 9 HAM HF bands (160m optional)
High dynamic range receiver design including high IP3 monolithic IC in the front end and H-mode first mixer
Fast acting IF (134kHz) AGC.
Clickless operation – solid state GaAs PHEMT SPDT switches on RX, (bandpass filters; TX/RX) and ultra fast rectifier diodes (LPF)
Custom multicolor FSTN LCD (Especially developed for this project)
Double CPU circuitry control for front panel and mother board, both field programmable via implemented USB hub.
Modular construction with no “flying wires” inside the box. Transceiver is built up on a main – mother board which has two functions. First to serve as a “chassis” and second to fit all the external connectors, daughter boards, inter-connections and acts as cable harness.
Plenty of optional modules: Audio filters, Automatic antenna tuner (ATU), Noise blanker (NB), narrow/wide band IF crystal filters.
Linear final amplifier PA 50W with precise power adjustment especially for QRP operations. Forget noisy FANs – 25W – unlimited time!! QRO work – with max power of 50W driving should be sufficient for a kilowatt amplifier.
Personal computer control CAT via USB
Morse code keyer (Curtis A, CMOS B)
Contest and DX-pedition operation conveniences
Both Kit & Pre-Built versions will be available for sale